Halloween Drawing step by step
There are numerous tomfoolery occasions consistently, from the happy fun of Christmas, the egg-filled fun of Easter and the family fun of Thanksgiving. Halloween is one of the best time out of every one of them, and it’s surely the spookiest! This occasion is about cool outfits, alarming designs and lots of sweets.
Visit the Sumperman Drawing
One of the most outstanding ways of getting into the Halloween move is by figuring out how to draw Halloween stuff! This is the ideal aide for anybody needing some creepy drawing fun! We want to believe that you make some spooktacular memories with this bit by bit guide on the most proficient method to draw Halloween.
Stage 1 – Halloween Drawing
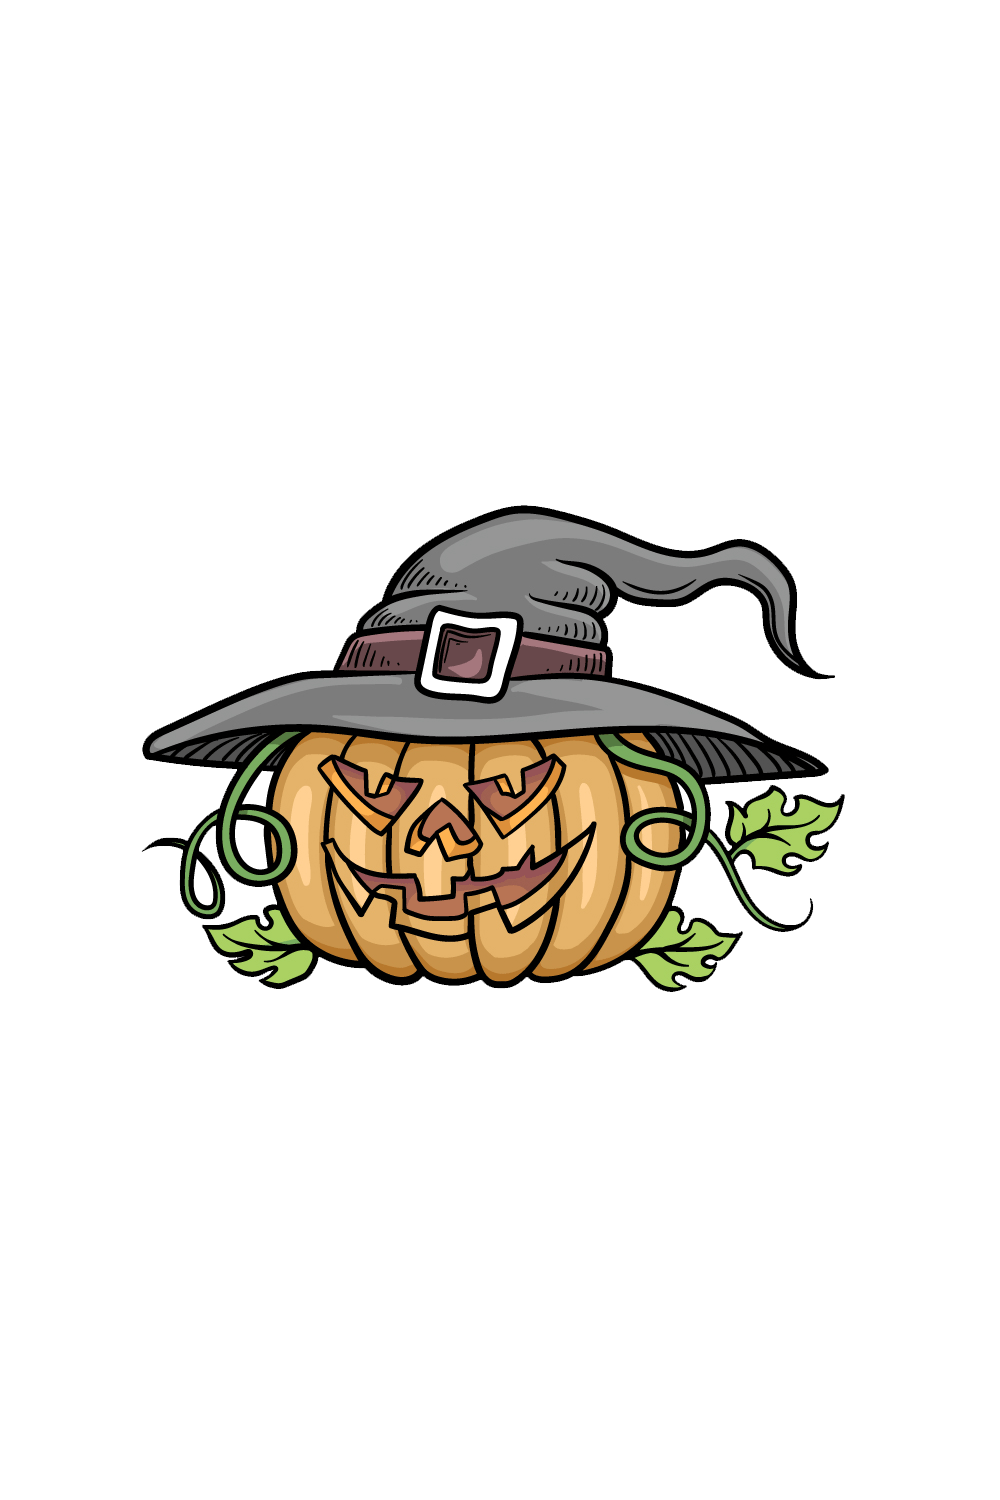
What could be more Halloween than a jack-o-light wearing a witch cap? In the event that you replied “nothing” you’re right! That is precisely exact thing we will draw for this initial step of our aide on the best way to draw Halloween.
You can begin by drawing a little square shape, and afterward draw one more square around it. This will act as the clasp of the band around the witch cap. Then, at that point, we can begin with the edge of the witch cap! You can involve a few bended lines for the edge of the cap, and afterward draw them bending internal for the lower part of the edge.
The reference picture will show you what we mean assuming that sounds befuddling. So whenever you have imitated the lines in our model then, at that point, you’re all set to stage 2.
Stage 2 – Next, begin drawing the remainder of the cap and the pumpkin frame
Presently we can begin to draw a greater amount of the cap and start the pumpkin for your Halloween drawing. How about we start with the cap first! Utilize a few straight lines coming on a level plane off the clasp for the tie around the cap. Then, at that point, you can involve a few bended and wavy lines for the tip of the cap twisting around on itself.
Visit kids coloring printable
Presently it is the right time to begin the pumpkin! Begin by defining a few twisty boundaries descending from inside the cap for one of the plants of the pumpkin. Then, at that point, utilize an adjusted line for the left-hand side of the pumpkin, and afterward add a little leaf at the base.
Stage 3 – Presently, draw the opposite side of the pumpkin
In this third step of our aide on the most proficient method to draw Halloween, we will draw the opposite side of the pumpkin. This side will look basically the same as the one on the left, with only a couple of contrasts. To start with, draw another twisty plant descending from this side, and you can add a leaf to this plant for one of those distinctions.
The remainder of this side will be basically equivalent to the opposite side, so utilize a bended line for the right half of the pumpkin and add one more leaf at the base.
Stage 4 – Next, draw the face and sections of the pumpkin
It wouldn’t be a very remarkable jack-o-light without the face, so we will add that in this piece of the Halloween drawing. The face is made out of the eyes, nose and smiling mouth, and as you can find in the reference picture these will be in every way drawn with extremely rakish lines to make them look cut.
You can likewise define a few boundaries in the inside of these shapes to make them seem as though they’re cut into the thick pumpkin. Then, at that point, polish off this step by adding a few bended lines for the sections of the pumpkin. There are simply have a couple of conclusive subtleties to include the subsequent stage, so we should continue on!
Stage 5 – Presently, polish off your Halloween drawing
In this step of our aide on the most proficient method to draw Halloween, we will polish off some last contacts to cause it to seem more appealing. The subtleties we are adding will be unpretentious yet compelling! Add a few flimsy lines onto the cap for some concealing point of interest, and afterward add a more to the underside of the cap.
Then you’re prepared to continue on toward the last step! Before you do, you could likewise add your very own few subtleties to polish it off. There is a ton you can do here, and this is your opportunity to show what your ideal Halloween arrangement is! You could draw a few treats, enrichments or creepy phantoms and demons for a couple of thoughts. How might you polish off this drawing?
Stage 6 – Polish off your Halloween drawing with some tone
This step of your Halloween drawing will be tied in with rejuvenating it with some tone! We utilized a few oranges, greens, grays, and browns for our picture. However, these tones are only an idea.
There are so many extraordinary varieties you could go for, and this is your opportunity to release your Halloween imagination! Contingent upon the sorts of varieties you would like, you can likewise mess with different workmanship mediums to accomplish them.
For more brilliant tones, you could involve some acrylic paints or hued pens and markers for a couple of ideas. More muffled tones can be accomplished for certain mediums like hued pencils or watercolors, so there are numerous choices available to you!
Also Read recifest