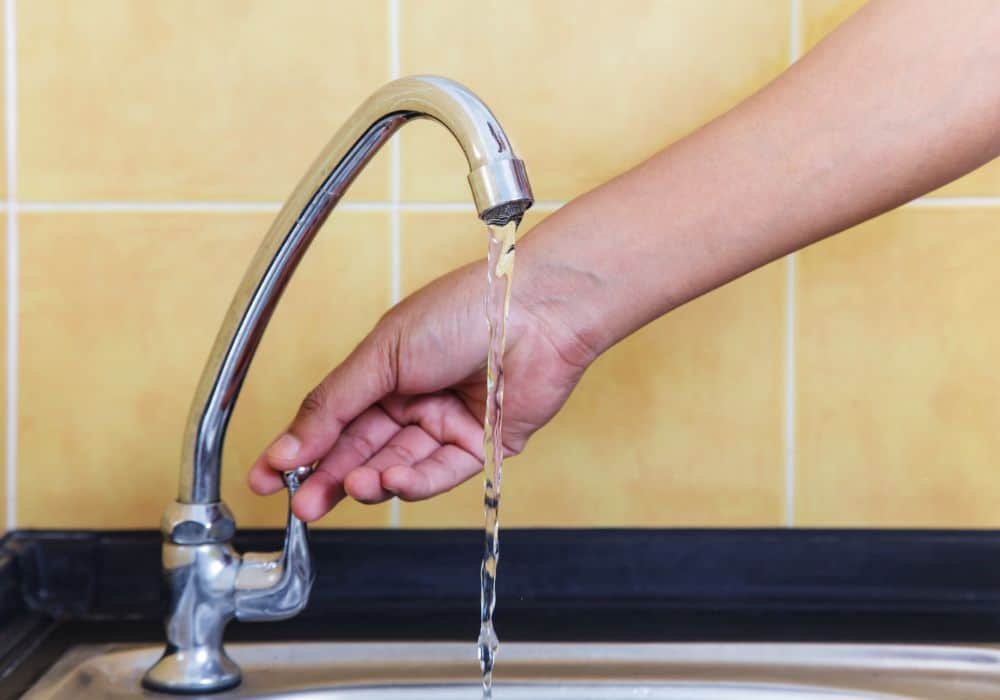
Is your kitchen faucet wobbling or becoming increasingly loose? A loose kitchen faucet not only causes frustration but can also lead to leaks and potential damage to your sink and countertop.
However, tightening a loose kitchen faucet is a task you can tackle on your own with a few simple steps. In this step-by-step guide, we will walk you through the process of tightening a loose kitchen faucet, ensuring stability and peace of mind in your kitchen.
Why is a Loose Kitchen Faucet a Problem?
A loose kitchen faucet can create multiple issues if left unattended. The constant movement can weaken the connections, causing leaks that may damage your sink and countertops over time.
Moreover, a loose faucet handle can be an inconvenience and compromise the overall functionality of your kitchen sink. Addressing the problem promptly is crucial to prevent further complications.
Tools and Materials Needed
Before you start tightening your loose kitchen faucet, gather the following tools and materials:
- Adjustable wrench
- Screwdriver (Phillips or flathead, depending on the faucet type)
- Plumber’s tape
- Towel or cloth
- Bucket or container (to catch any water that may drip during the process)
Having these items on hand will ensure you have everything you need to complete the task efficiently.
Step 1: Turn Off the Water Supply
Before you begin working on your kitchen faucet go here, it’s essential to turn off the water supply. Locate the shut-off valves under your sink and turn them clockwise until the water flow stops completely.
This step will prevent any water from accidentally spraying or leaking while you work on the faucet.
Step 2: Identify the Type of Faucet
There are different types of kitchen faucets, and each may have a unique mechanism for tightening. It’s important to identify the type of faucet you have to ensure you follow the correct steps. The most common types include:
- Ball Faucet
- Cartridge Faucet
- Compression Faucet
- Ceramic Disc Faucet
Refer to the manufacturer’s manual or do some research to determine the specific type of faucet you are working with.
Step 3: Remove the Handle
Using a screwdriver, remove the screws or other fasteners that hold the faucet handle in place. Carefully detach the handle from the faucet body, exposing the inner components.
Step 4: Tighten the Mounting Nut
Locate the mounting nut, which secures the faucet to the sink or countertop. Use an adjustable wrench to tighten the nut by turning it clockwise. Make sure to apply gentle pressure and avoid overtightening, as this can damage the faucet or its components.
Step 5: Reassemble the Faucet
Once you have tightened the mounting nut, reassemble the faucet in the reverse order of disassembly. Place the handle back onto the faucet body and secure it with the screws or fasteners. Ensure everything is aligned correctly before tightening the screws.
Step 6: Test for Leaks
Turn on the water supply by reopening the shut-off valves beneath the sink. Slowly turn the faucet handle to allow water to flow. Check for any leaks around the base of the faucet or from the handle.
If you notice any leaks, try tightening the mounting nut a bit more. If the issue persists, you may need to consult a professional plumber.
Additional Tips for Preventing a Loose Faucet
To avoid future problems with your kitchen faucet, consider these additional tips:
- Avoid using excessive force when turning the faucet handle or adjusting the water flow.
- Regularly inspect the mounting nut and tighten it if necessary.
- Check for any leaks or signs of looseness during routine maintenance.
- Apply plumber’s tape to the threaded connections to ensure a secure seal and prevent leaks.
- If you encounter persistent issues with your faucet, consult a professional plumber for further assistance.
Conclusion
Tightening a loose kitchen faucet is a manageable task that can save you from potential water damage and inconvenience. By following the step-by-step guide provided, you can restore stability to your faucet and enjoy a properly functioning kitchen sink.
Remember to perform regular maintenance checks and address any issues promptly to prevent further complications.


